Sometimes we may want to add header and footer on one or all pages in worksheet for some purpose,especially for the case that we want to export data in report format or add page number automatically on each page, then after printing pages are printed in the same form. It looks more neatly after adding header and footer on pages, so we need to know the way to add them properly and conveniently.
Actually, excel has the built-in feature to add header and footer, and there are also some default header and footer formats for user to apply, so we can add them by this function directly. This free tutorial will show you the way to add header footer in several steps with simple description and screenshots for the whole process. For different requirements, we also provide different ways to add header/footer on the first page only or all pages, you can choose one to follow per your demand.
Precondition:
Prepare a table like below, if you want to add header or footer for this table, you can follow below steps.

Method: Add Header or Footer on Pages via Text->Header & Footer in Excel
Step 1: Open the worksheet you want to add header or footer. Click Insert tab in the ribbon, then click the small triangle of Test icon to load more options, select Header & Footer.

Step 2: After above operation, pages are displayed in design mode. And Design tab is loaded in ribbon.

Step 3: If you only want to add header or footer on the first page, check on ‘Different First Page’ option.

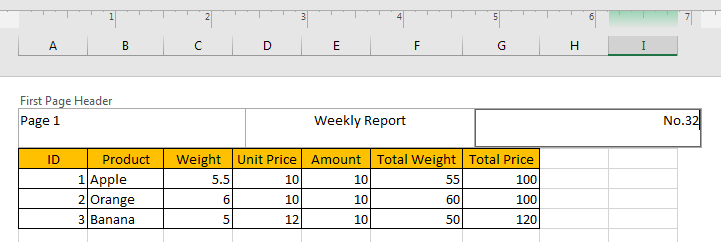
Step 4: Then start to edit header and footer per our requirement. On current worksheet First Page Header field, there are three parts, move cursor into each part and add header.

In this step, we just add report name in the middle part manually, you can also add texts into other parts per your demand. See example below.

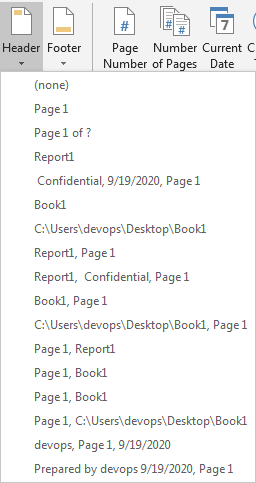
Step 5: Actually, excel provides some default headers for user to insert in, under Design tab, in the most left there is ‘Header & Footer’ group, you can click arrow button to load different formats of head and footer, for example date, page number, sheet number etc.

Click the arrow button to show head format list:

Select Report1 as report header. Please be aware that Report1 is current worksheet name, Book1 is workbook name.

You can also select page number or others. Make sure that if you select ‘Page1’ as header, it will be listed in the middle, and if you select ‘’Report1, Confidential, Page1’, it will be split into three parts.

Step 6: Then drag down the scrollbar to the end to add footer. Enter ‘Page 1’ manually.

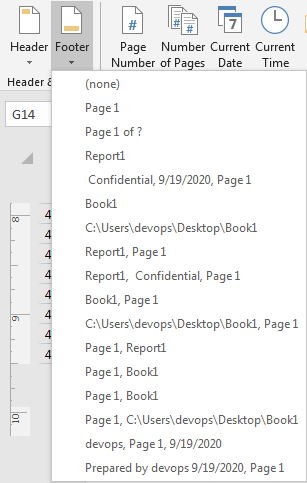
You can also select footer in footer dropdown list.

Step 7: After editing header and footer, click View in ribbon, then click Normal to go back to normal view screen.

Step 8: Click File in ribbon, then click Print to load print preview. Verify that header and footer for the first page is displayed properly.
Header:

Footer:

Step 9: If you want add header or footer on all pages, uncheck ‘Different First Page’ option.

Then add header or footer per above steps. Then you will find the header and footer are also attached to other pages properly. If you enter header and footer manually, then header and footer are the same for all pages; if you select header or footer from dropdown list, then header/footer will be automatically loaded per different pages, see example below.
Header 1 on page 1:

Header 2 on page 2:

You can see that page number is automatically updated per the real page number.
Footer 1 on page 1:

Footer 2 on page 2:
