This post will guide you how to change the column width and row height for a given range in Excel. How do I resize Row height or column height for a range with VBA Macro in Excel.
Table of Contents
Change Column Width and Row Height with Format Command
If you want to expand or reduce row widths and column heights for a range in your worksheet, you can use the Excel’s Format command to set row height and column width for your range in Excel. Here are steps:
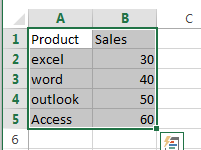
#1 select one range that you want to set row/column height/width.
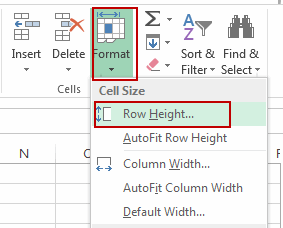
#2 go to HOME tab, click Format command under Cells group. And select Row Height from the drop down menu list. And the Row Height dialog will open.
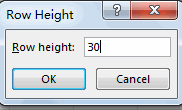
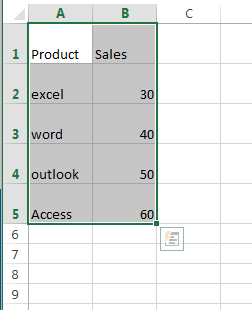
#3 enter a value that you want to set for row height in the Row Height dialog. Click Ok button. And the row heights have been changed for the selected range.
#4 go to HOME tab, click Format command under Cells group. And select Column Width from the drop down menu list. And the Column Width dialog will open.
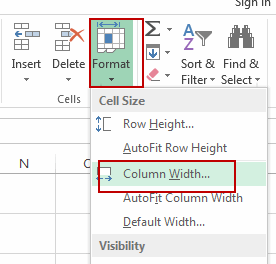
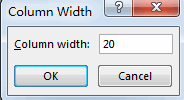
#5 enter a value that you want to set for column width in the Column Width dialog. Click Ok button. And the column widths have been changed for the selected range.
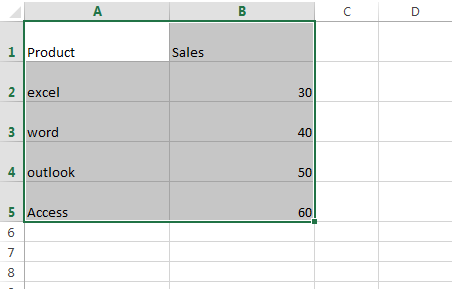
Change Column Width and Row Height with VBA
You can also use an Excel VBA macro to achieve the same result of changing column width and row height in a given range. Here are the steps:
#1 open your excel workbook and then click on “Visual Basic” command under DEVELOPER Tab, or just press “ALT+F11” shortcut.
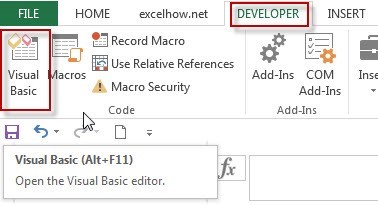
#2 then the “Visual Basic Editor” window will appear.
#3 click “Insert” ->”Module” to create a new module.
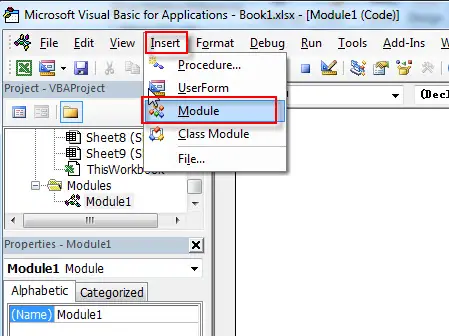
#4 paste the below VBA code into the code window. Then clicking “Save” button.
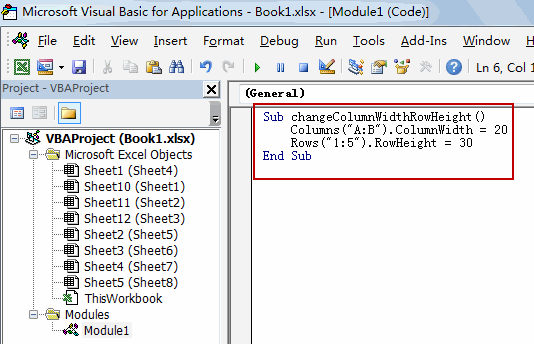
Sub changeColumnWidthRowHeight()
    Columns("A:B").ColumnWidth = 20
    Rows("1:5").RowHeight = 30
End Sub
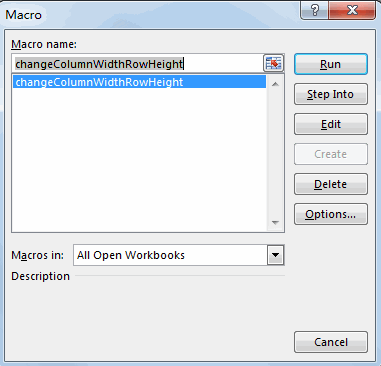
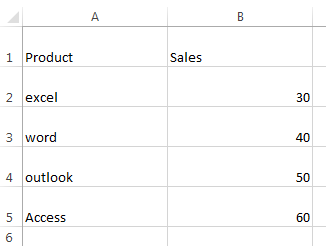
#5 back to the current worksheet, then run the above excel macro. Click Run button.
Leave a Reply
You must be logged in to post a comment.