Sometimes we need to add a textbox into current worksheet to edit some comments for purpose. And if we want to type a long comment but with textbox length or width limit, we need to add a scroll bar for this textbox, then we can drag the scroll bar to show all contents. Adding scroll bar can prevent contents in textbox from truncating, this article will show you the method to create a textbox with scroll bar in excel.
Expectation:
Add a scrollbar for textbox control.
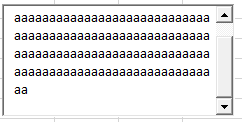
Table of Contents
1. Create or Insert A Textbox with Scroll Bar
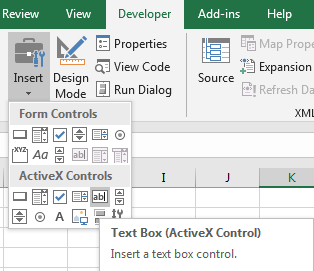
Step1: Click Developer in ribbon, then click Insert arrow button to load Form Controls. Select Text Box control.
Step2: Drag your mouse to draw a textbox.

Step3: If you want to adjust the size of textbox, click Design Mode under Controls group.
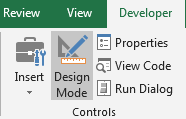
Then click on textbox control, then selected textbox is in design mode and adjustable, you can drag any circle to extend or reduce the size.
Step4: After adjusting textbox size, click Properties under Developer.
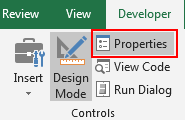
And Properties window pops up.
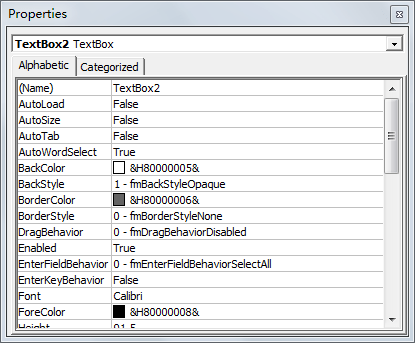
Step5: Drag the scrollbar till MultiLine and ScorllBars show on the window. Set MultiLine with True, and in ScrollBars dropdown list, select the third choice ‘2 – fmScrollBarsVertical’.
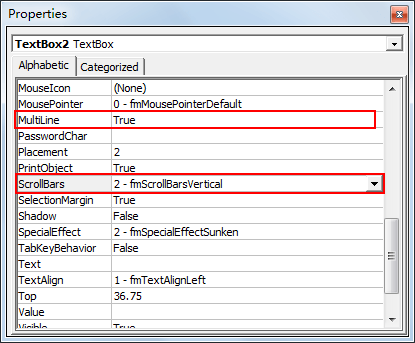
Normally we often add vertical scrollbar, if you want to add horizontal scrollbar, you can select the second choice ‘1 – fmScrollBarsHorizontal’.

Step6: Click Design Mode again to quit design mode. Then type a long sentence into textbox.
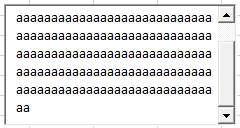
When entering texts over the textbox, a scrollbar will be displayed. You can drag scrollbar to show all texts.
2. Video: Create or Insert A Textbox with Scroll Bar
In this video tutorial, we’ll uncover the art of adding a Textbox control with a scroll bar into current worksheet in Excel 2013/2016/2019/365.