Normally there are some redundant rows in worksheet and we have to remove them manually, and if there is a simple way to delete them by one step will be much better. If you want to delete rows under certain row or selected active cell, you will not miss this article. This article aims at helping you to delete rows under the certain row or cell by VBA code.
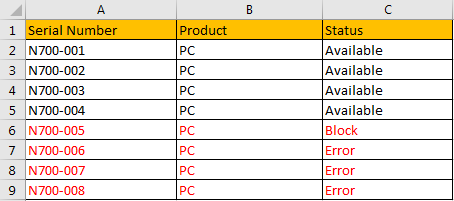
See the table below. In the inventory list, some PCs are broken and should be removed from the list. Refer to the table, the rows under the sixth row (including the sixth row) should be removed. So, let’s remove them by VBA code, details please see below steps.

Table of Contents
Method 1: Delete Rows Under Certain Row in Excel
Step 1: On current visible worksheet, right click on sheet name tab to load Sheet management menu. Select View Code, Microsoft Visual Basic for Applications window pops up.
Or you can enter Microsoft Visual Basic for Applications window via Developer->Visual Basic.
Step 2: In Microsoft Visual Basic for Applications window, click Insert->Module, enter below code in Module1:
Sub DeleteRowsUnderCertainRow()

    Worksheets("Sheet1").Rows(6 & ":" & Worksheets("Sheet1").Rows.Count).Delete

End Sub
Notes:
- In above script, make sure you entered correct sheet name (in this case “Sheet1”).
- In Rows(6 & “:” & Worksheets(“Sheet1”).Rows.Count), 6 is row number you want to delete from.
Step 3: Save the codes, see screenshot below. And then quit Microsoft Visual Basic for Applications.

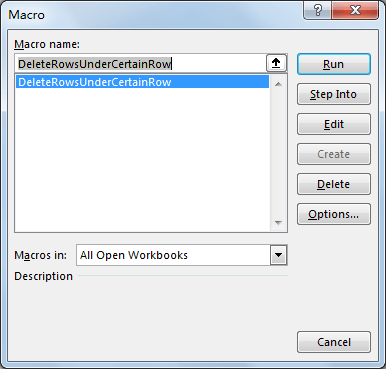
Step 4: Click Developer->Macros to run Macro. Select ‘DeleteRowsUnderCertainRow’ and click Run.

Step 5: Verify that rows under the fifth row are removed properly.

Method 2: Delete Rows Under Active Cell in Excel
See below table. If we want to remove the second and third rows in the table, we can use above method. Actually, there is another way to remove them conveniently. See steps below.

Step 1: Repeat above step #1 and #2, in Module enter below code:
Sub DeleteRowsUnderActiveCell()

    Rows(ActiveCell.Row & ":" & Rows.Count).Delete

End Sub
Step 2: Save the codes, see screenshot below. And then quit Microsoft Visual Basic for Applications.

Step 3: Select an active cell in the second row. For example, B2. (You can select A2 or C2 as well)

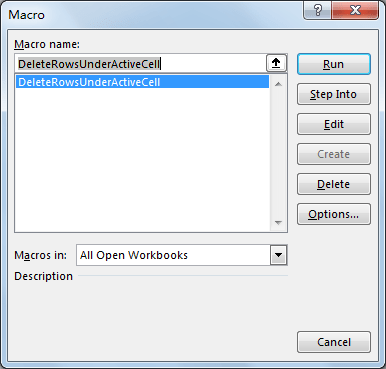
Step 4: Click Developer->Macros to run Macro. Select ‘DeleteRowsUnderActiveCell’ and click Run.

Step 5: Verify that the second row and the third row are removed from table properly.
