This post will guide you how to insert or delete a header or footer in your worksheet in Excel. How to add a picture to a header or footer in Microsoft Excel.
If you want to insert a header or footer into your current worksheet, you can do the following steps:
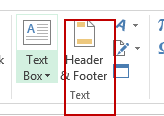
#1 go to INSERT tab, click Header & Footer command under the Text group. And the Header and Footer section will appear.

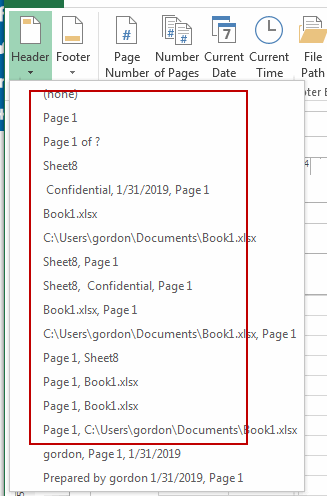
#2 go to DESIGN tab under HEADER &FOOTER TOOLS, click Header command and select one Elements from the drop down menu list. If you want to add elements to footer section, just click Footer command, and select one elements as you need.

#3 you should notice that one element you selected has been added into the header section.

If you want to insert a picture into a header or footer in your worksheet, you can do the following steps:
#1 go to INSERT tab, click Header & Footer command under the Text group. And the Header and Footer section will appear.
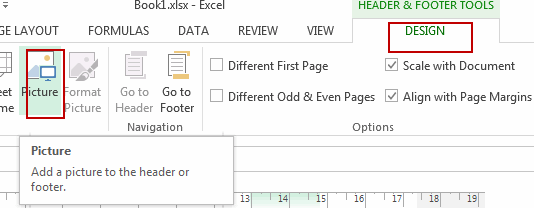
#2 go to DESIGN tab under HEADER &FOOTER TOOLS, click Picture command to add a picture to the header or footer. And the Insert Pictures dialog will open.

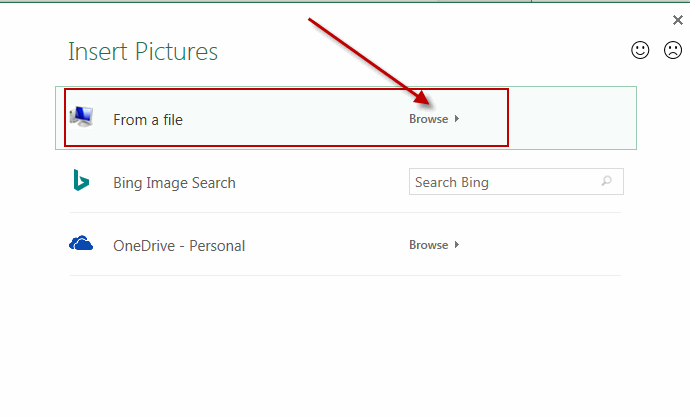
#3 select one picture from your computer or local network, you can click the Browse button to select one.

#4 one text string is inserted into the selected header or footer. And then click any cell in your worksheet. You should see the image would be shown in your header.


Leave a Reply
You must be logged in to post a comment.